
In this user guide you will learn more about what the purpose of an asset label is, how and where it is managed, what permissions can be set and finally, how they are used in assets.
What are asset labels and how are they used ?
Setting management permissions for Asset labels
Managing Asset labels in the Admin Configuration
What are asset labels and how are they used
Asset labels allow marketers to label and group their assets in a logical way which allows them to generate better insights across multiple campaigns and periods of time. Labels can be added to Lists, Custom Events, Segments in lists, Content, Journeys, Cadence plans, Content Blocks and Data exchange assets (such as imports, tasks, data syncs, etc.) and can be used in generic exports and Reporting in Selligent.
Use case — turn labels into leverage
Tag everything Summer Sales — Label your journeys and the content inside them as Summer Sales.
Why it’s powerful
Find fast — Search the label to pull up every Summer Sales asset in seconds
Work smarter — Reuse copy, creative, and journeys without hunting
Prove impact — Filter exported reports by Summer Sales to see performance and ROI at a glance
Tip — Use consistent naming (e.g., Summer Sales 2026) so planning, execution, and reporting stay perfectly aligned.
Read more on this in the Asset labels Introduction article.
Managing permissions for Asset labels
Asset labels are part of the permissions assigned to a user.
Read more on assigning permissions in the Admin configuration.
Managing Asset labels in the Admin Configuration
Read more on setting up Asset Labels in the Admin Configuration
Using asset labels in assets
Asset labels can be assigned to all types of assets:
- Any type of content
- Any type of journey
- Any type of list, including Custom Event lists and segments in Audience Lists
- All Data Exchange assets
- Cadence plans
Assigning labels to an asset is done from the properties of the asset.
Example: Assigning a label to an Audience List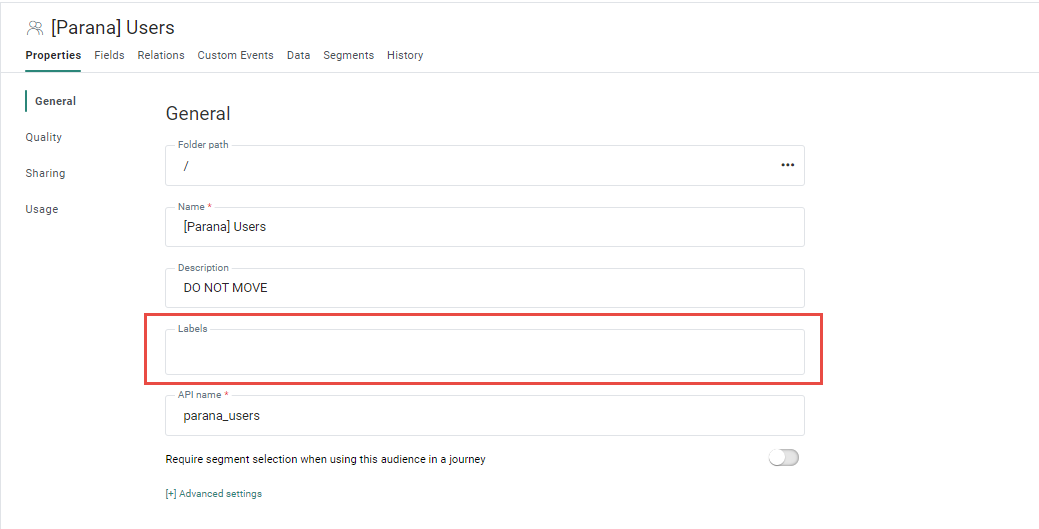
Click the Labels field to access the drop-down and select a label from the list:
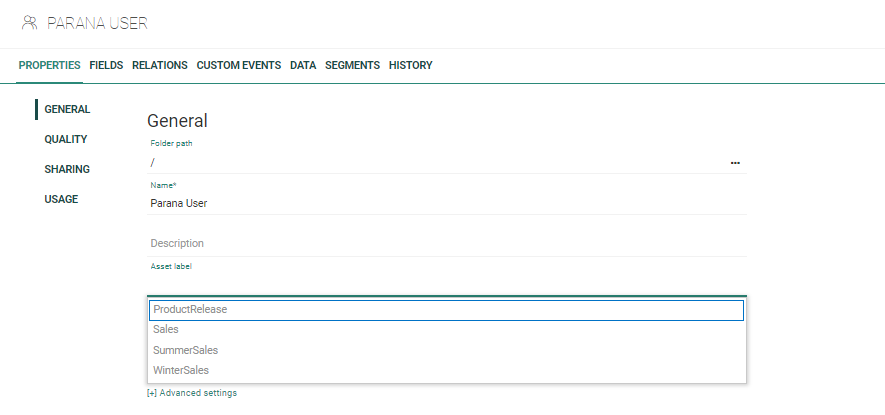
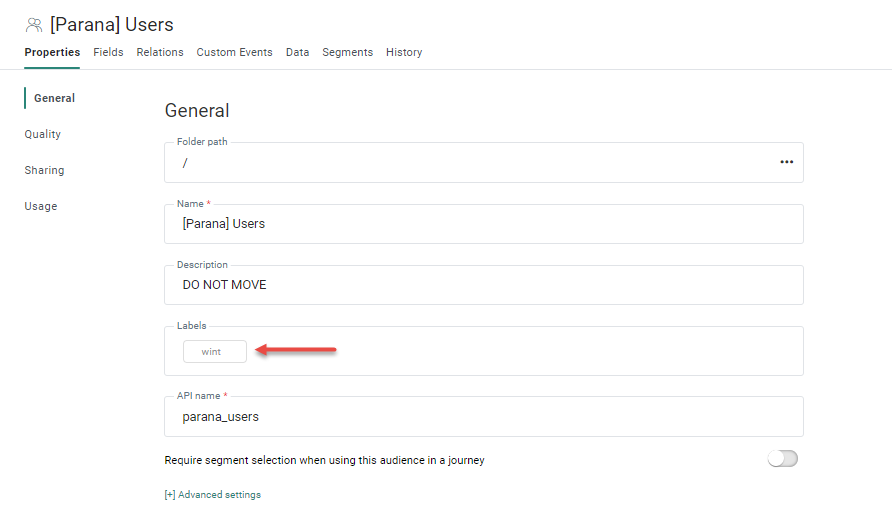
To search for a label in the list, enter the first characters in the label field. Select the correct one from the drop-down to assign it to the asset:

When the entered value does not exist in the list of labels and the user has 'Access' permissions for labels, 2 scenarios can occur:
1. The user clicks somewhere outside of the field, in which case a message pops up below the Label field, asking the user how they want to proceed:

The user can choose between adding the new label to the list, or canceling the action. In case the user chooses ok, the label is automatically assigned to the asset:
Note: Saving the asset with the new label is a mandatory step for the new label to be added to the list of labels available for others to use. Once the asset is saved, check the Admin Tool for this new label.
In case the user chooses to cancel the action, nothing happens and no label is assigned or created.
2. The user presses Enter. In this case, the label is immediately added to the asset.
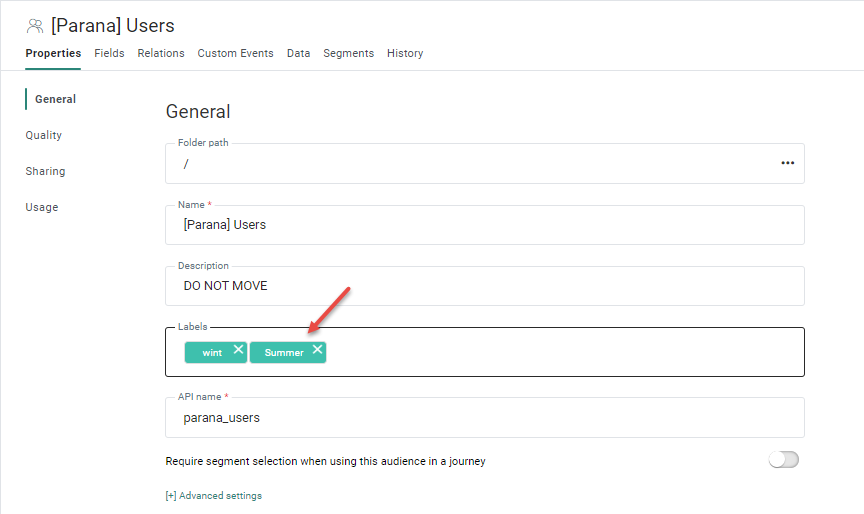
Note: Saving the asset with the new label is a mandatory step for the new label to be added to the list of labels available for others to use. Once the asset is saved, check the Admin Tool for this new label.
Leveraging asset labels
-
Search for assets using the label in the search field:

